How to Set Up Online Banking and Transfers in Israel
Stepping into the world of Israeli banking can often feel like navigating a maze blindfolded, especially when it comes to setting up online access and trying to move your money around. Many of us expats arrive expecting a smooth digital experience, only to be met with a system that has its own unique quirks. This guide is here to demystify the process, walking you through everything from activating your online account to making local transfers and sending funds internationally, so you can manage your finances with confidence.
The Unique Israeli Banking Experience: A Digital Culture Shock
Let's be honest, for those of us coming from countries with highly integrated, paperless, and lightning-fast digital banking, the Israeli system can feel like a step back in time. It's not that the technology isn't there, it's just implemented and approached in a very… Israeli way. You might find yourself scratching your head, wondering why simple tasks require multiple layers of verification or a mandatory trip to the branch. It's a common expat frustration, and you're definitely not alone in feeling it.
Bridging the Digital Expectations Gap
When you first arrive, you’re probably picturing downloading an app, filling in a few details, and bam! instant online banking. In Israel, it's a bit more nuanced. While the major banks like Bank Leumi, Bank Hapoalim, Discount Bank, and Mizrahi-Tefahot do have sophisticated apps and online portals, the initial setup process, and indeed many key functions, often require an in-person touch. This blend of digital convenience and traditional bureaucracy can be jarring. You'll hear stories, perhaps even experience them yourself, of needing to fax documents, or sign physical forms for things you'd expect to do with a click. It’s a reflection of a system that values security and personal verification above all else, sometimes to the detriment of modern user experience. You'll soon learn that patience and a readiness to adapt are your best assets when dealing with financial institutions here. For a broader perspective on the entire banking landscape, take a look at our Banking in Israel: A Complete Guide for Foreigners (2027) for a comprehensive overview.
Navigating Hebrew-First Interfaces and Finding English Options
Ah, the language barrier! Even if you’ve diligently attended Ulpan and can order a falafel like a pro, complex financial jargon in Hebrew is a whole different beast. Many Israeli banking apps and websites are primarily designed in Hebrew, with English translations often feeling like an afterthought, or sometimes missing entirely for certain functions. This can be incredibly frustrating when you're trying to understand transaction details, set up a new payment, or simply find your account balance. You might find yourself relying on Google Translate, screenshots, or asking a Hebrew-speaking friend for help more often than you'd like. However, don't despair! Most major banks do offer English versions of their apps and online portals, though sometimes you have to dig for the setting or ensure your device's language is set to English. It's worth noting that even with English interfaces, some SMS confirmations or specific alerts might still come through in Hebrew, so keep that in mind.
The "Old School" Approach to Initial Setup
Despite Israel’s "Startup Nation" reputation, its core banking infrastructure can feel decidedly analogue in its foundational elements. To even begin the journey of online banking, you'll almost certainly need to visit a physical branch. This isn't just for opening your account – which is detailed in our guide The Expat Guide to Opening a Bank Account in Israel – but often specifically for activating your online access. They might issue you a temporary password, a security device, or require you to set up your online profile on a computer at the bank itself. This hands-on, face-to-face interaction is deeply ingrained in the Israeli banking culture. It’s how they build trust and ensure identity verification, even if it means more waiting in line for us. Be prepared to bring your passport, Teudat Zehut (or temporary resident ID), and any other relevant identification they request. It's a rite of passage for every expat here.
Your Digital Banking Launchpad: Setting Up Online Access
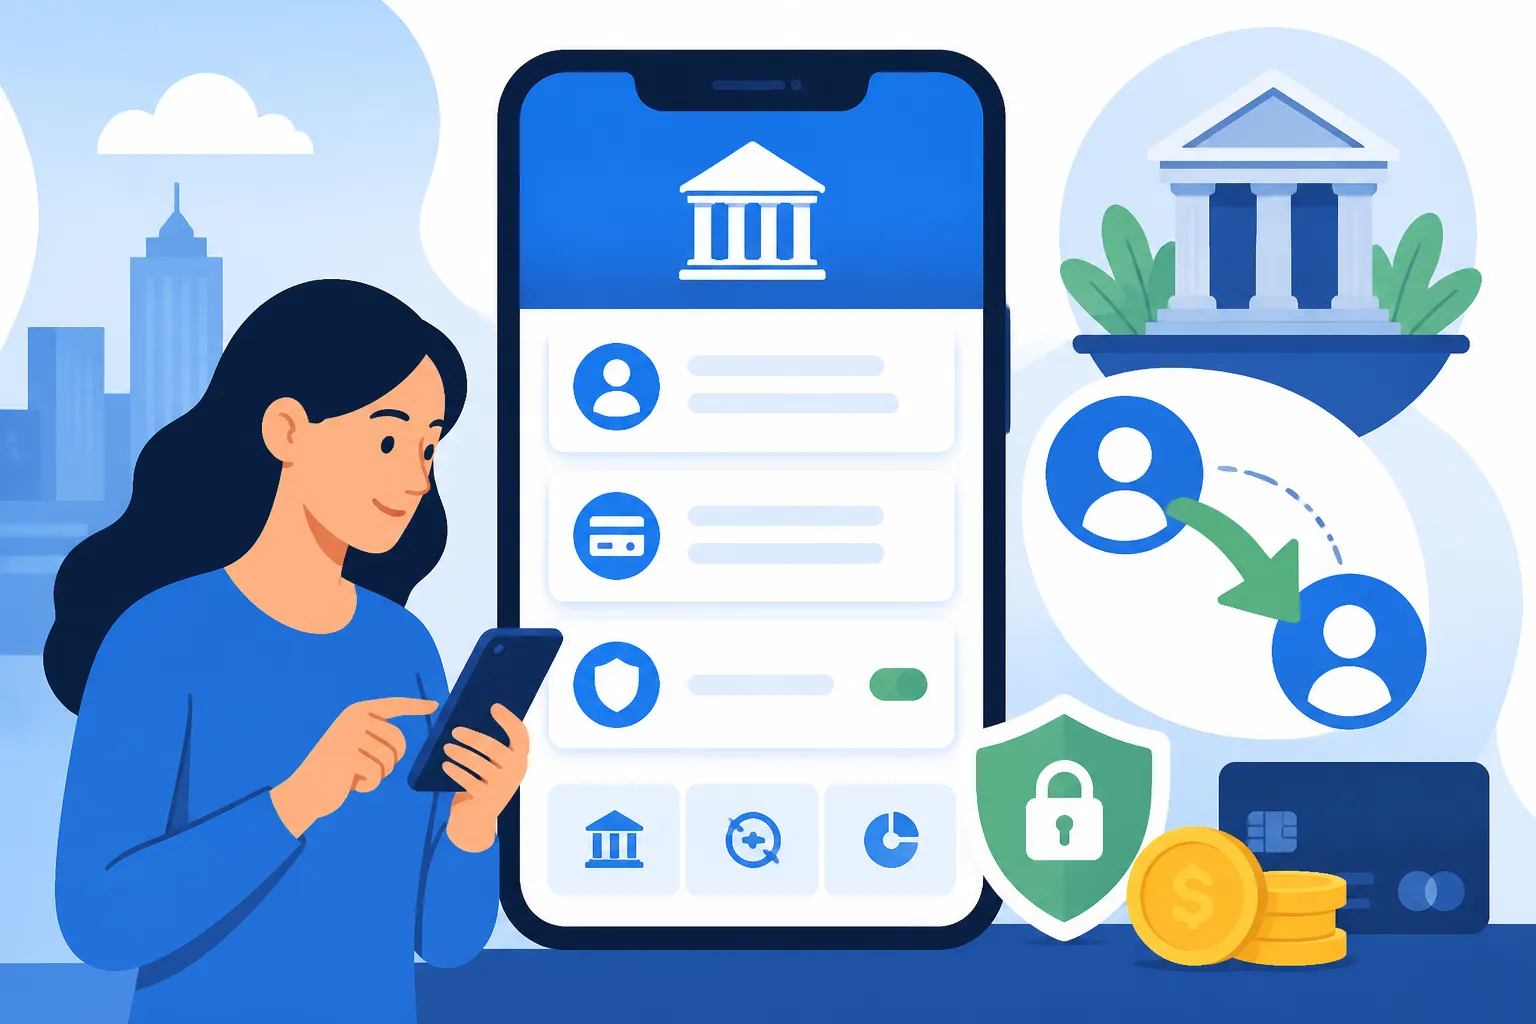
Once you've braved the initial in-person visit, you're on your way to digital freedom – or at least, digital management. This next phase is about getting your online banking and mobile app access up and running. It's where the rubber meets the road, allowing you to move beyond branch visits for everyday transactions.
The Mandatory In-Person Visit to Activate
Yes, I'm reiterating this because it's a crucial point that often catches newcomers off guard. After you've opened your bank account, you won't automatically have online access. You’ll need to explicitly request it, often at the same branch, or sometimes even a follow-up visit. The bank will typically provide you with a unique user ID and an initial password. In some cases, they might give you a small, physical security device (like a card reader or a token generator) that produces one-time passwords, or they'll guide you through setting up a dedicated mobile app for two-factor authentication. Don't leave the branch until you've confirmed that your online access has been activated and you understand the first steps to log in. Ask them to walk you through the very first login if possible. This seemingly archaic step is vital for future convenience. Also, ensure you have your How to Get a Teudat Zehut and Tax File Number in Israel sorted, as this is fundamental for all banking activities.
Getting Started with Your Bank's App and Web Portal
After your in-branch activation, the real digital journey begins. Download your bank's official app from your smartphone's app store (Google Play or Apple App Store). Search for "Bank Leumi," "Bank Hapoalim," "Discount Bank," or "Mizrahi-Tefahot" – depending on where you opened your account. Be careful to download the official app, as there are sometimes scam apps out there.
First Login on the App/Web Portal:
- Enter your User ID: This is usually a string of numbers provided by the bank.
- Enter your initial password: Again, this will have been given to you by the bank. You’ll typically be prompted to change this immediately to something more secure and personal.
- Two-Factor Authentication (2FA): This is a critical security layer. You might receive an SMS code to your registered Israeli mobile number, or you might need to use a dedicated authenticator app provided by the bank. For example, Bank Hapoalim uses "Hapoalim Authenticator," and Leumi uses "Leumi Digital." Make sure these are set up correctly before you try to make any transactions.
- Security Questions: Many banks also require you to set up security questions, which are used to verify your identity if you ever forget your password or login details.
It might feel like a lot of steps, but once you're in, you'll have access to your accounts, transaction history, and the ability to initiate transfers. Don't forget to explore the English language settings if needed – often found in the profile or settings menu (look for a small flag icon or "Settings/הגדרות").
Understanding Login Credentials and Multi-Factor Authentication
Israeli banks take security seriously, and multi-factor authentication (MFA) is central to their online systems. It typically involves:
- User ID and Password: Your primary credentials.
- SMS Code: A one-time code sent to your phone for login or transaction approval.
- Authenticator App/Device: A dedicated app on your smartphone (like the ones mentioned above) or a physical device that generates a rotating code.
You might also encounter "personal questions" (שאלות אישיות) where you're asked to answer a question only you would know (e.g., "What was your mother's maiden name?" or "What is your high school mascot?"). Be sure to remember your answers! This layered approach is designed to protect your funds from unauthorized access. While it can be cumbersome, especially if you're logging in frequently, it's a necessary evil to keep your money safe in the digital realm. Always keep your phone updated and avoid using public Wi-Fi for sensitive banking operations.
Making Your Money Move: Local and International Transfers
Now that you're successfully logged in, it's time to put your online banking to use! Whether you're paying rent, sending money to a friend, or handling international transactions, understanding the nuances of Israeli transfers is key.
Effortless Local Transfers: Paying Bills and Friends
Making local transfers within Israel is generally quite straightforward once you're familiar with the system. You'll typically need the recipient's Israeli bank account number and their bank's mispar snif (branch number). Sometimes, their full teudat zehut (ID number) or company ID number is also required for verification, especially for new payees.
Most banks offer a "transfer to another bank" (העברה לבנק אחר) or "transfer to a third party" (העברה לצד שלישי) option. You'll input the details, the amount, and often a short description (e.g., "rent for July" or "dinner"). For recurring payments like rent or utility bills, you can often set up a standing order (הוראת קבע – Horaat Keva) which is a fixed recurring payment, or use a direct debit (הרשאה לחיוב חשבון – Harsha'a LeChiyuv Cheshbon) where the service provider pulls the money from your account. Setting up a standing order is a great way to automate regular payments, and you can learn more about it in our specific guide: How to Set Up a Standing Order (Horaat Keva) at an Israeli Bank. Always double-check the details before confirming a transfer, as mistakes can be tricky to reverse. For specific bill payments, many Israeli companies also offer direct payment portals linked to your bank account, or you can pay via the Israel Post Bank or certain ATMs.
Sending Funds Abroad: Bank Wires vs. Transfer Services
This is where many expats encounter significant differences and costs. Sending money from your Israeli bank account to an overseas account can be done via a traditional bank wire transfer. However, be prepared for several factors:
- Fees: Israeli banks charge fees for international wire transfers, which can vary but are generally not negligible. These fees can be fixed or a percentage of the amount.
- Exchange Rates: The bank will convert your Israeli Shekels (ILS) to the foreign currency at their own exchange rate, which typically includes a spread that benefits the bank, meaning you get slightly less foreign currency than the market rate.
- Processing Time: International wires can take a few business days to process.
- Required Information: You'll need the recipient's full name, address, bank name, bank address, SWIFT/BIC code, and their international bank account number (IBAN).
For many expats, alternative money transfer services offer a more cost-effective and often faster solution. Services like Wise (formerly TransferWise) have revolutionized international transfers by offering more competitive exchange rates (closer to the mid-market rate) and transparent, lower fees. You link your Israeli bank account to their platform, initiate the transfer, and they send the money from their local account in the destination country. This bypasses the traditional SWIFT network, saving time and money. Other services like Revolut, although not an Israeli bank, can also be useful for managing multi-currency accounts and transfers, but be aware of the implications of using non-Israeli financial institutions for your primary banking needs while residing here. If you're looking for more details on this, our How to Transfer Money Internationally from an Israeli Account guide offers a deeper dive into options.
Here's a quick comparison of methods for international transfers:
| Feature | Traditional Israeli Bank Wire | Wise (and similar services) |
|---|---|---|
| Exchange Rate | Bank's own rate, usually includes a noticeable spread. | Mid-market rate, very transparent. |
| Fees | Fixed fee + potential percentage, sometimes high. | Low, transparent fees, often a small percentage. |
| Speed | 2-5 business days. | Often same-day or within 1-2 business days for common currencies. |
| Ease of Use | Can be done online, but sometimes requires a call or branch visit for first-time recipient. More complex forms. | Fully online, user-friendly interface. |
| Transparency | Fees and rates can be less clear upfront. | Full breakdown of fees and rates before confirmation. |
| Customer Support | Bank's general customer service. | Dedicated online platform support. |
| Receiving End Fees | May incur correspondent bank fees or recipient bank fees. | Less likely to incur additional fees. |
Receiving Funds from Overseas and Currency Exchange
Receiving international payments into your Israeli bank account typically requires the sender to have your full bank details: your name, your Israeli bank account number, your bank's name and address, and its SWIFT/BIC code. You can usually find your bank's SWIFT/BIC code on your online banking portal or by asking your branch.
When receiving foreign currency, your bank will convert it into Israeli Shekels (ILS). Again, the exchange rate used will be the bank's own rate, which might not be the most favorable. They will also likely charge a fee for receiving an international transfer. If you anticipate receiving large sums of foreign currency regularly, it might be worth investigating if your bank offers a foreign currency account (חשבון מט"ח – Cheshbon Matach) where you can hold foreign currencies without immediate conversion. This can allow you to convert at a more opportune time or use those funds for international transactions without multiple conversions. Keep an eye on the fees associated with such accounts, as they vary.
Overcoming Obstacles: Common Expat Banking Challenges
Even with online access, you'll likely encounter a few bumps in the road. Israeli banking, for all its digital advancements, retains a certain old-world charm that can manifest as unexpected challenges for foreigners.
Dealing with Security Holds and Verification Demands
This is perhaps one of the most common frustrations. Israeli banks are extremely vigilant about security and anti-money laundering regulations. As a result, you might find your account, or a specific transaction, temporarily frozen or put on hold, especially if:
- You're making a large transfer.
- You're sending money to a new recipient.
- You're making a transfer to or from a country considered "high risk."
- Your login behavior seems unusual (e.g., logging in from a new device or location).
When this happens, you’ll typically receive an SMS or an email, or simply find that your transaction is pending. You’ll then need to contact your bank, often by phone, or even visit the branch, to verify the transaction. They might ask detailed questions about the purpose of the transfer, the recipient, and the source of funds. While incredibly annoying, especially when you're in a hurry, remember that this is for your protection. Keep clear records of your transactions and be ready to explain them. Sometimes these holds are automatic, and speaking to a human can quickly resolve them.
The Quest for English-Speaking Customer Support
Finding reliable English-speaking customer support can be a bit of a lottery. While the larger banks, especially those with branches in major expat hubs like Tel Aviv, usually have English-speaking representatives, they might not always be available, especially during peak hours. When you call the general customer service line, you might have to navigate an automated Hebrew menu first. A helpful tip: if you reach a representative who doesn't speak English, politely ask "Ata medaber Anglit?" (Do you speak English?) or "Efshar ledaber im מישהו שדובר אנגלית?" (Can I speak with someone who speaks English?). Some banks have dedicated "Olim" or "International" departments with staff trained to assist English speakers. Persistence is key here. It's often worth trying again at different times of the day if you don't get through the first time.
Decoding Fees, Exchange Rates, and the Real Cost of Transfers
Understanding the true cost of banking and transfers in Israel requires a keen eye. Beyond the explicit transfer fees, you need to factor in:
- Exchange Rate Spreads: As mentioned, banks don't typically offer the interbank rate. The difference between their buying and selling rate is where they make money, and it can add up, especially on large transfers.
- Maintenance Fees: Many Israeli bank accounts come with monthly maintenance fees, though these can sometimes be waived for new immigrants for a certain period or if you maintain a high enough balance. Our guide How Much Does an Israeli Bank Account Cost Per Month? goes into more detail.
- ATM Fees: While withdrawing from your own bank's ATMs is usually free, using another bank's ATM might incur a small fee.
- International Receiving Fees: Even if you're not sending, your bank might charge a fee to receive an international wire.
Always ask for a full breakdown of fees and the exact exchange rate before confirming an international transfer. Don't be shy to compare with services like Wise to see the difference. For complex financial planning or understanding how these costs impact your overall financial picture as an expat, particularly concerning your income from abroad or investments, consulting with specialists like Taxes for Expats can be invaluable. They can help you navigate the Israeli tax system and ensure you're aware of any implications related to your banking and transfers, especially when dealing with foreign income.
Protecting Your Shekels: Online Banking Security
In an increasingly digital world, keeping your online banking secure is paramount, and Israel is no exception. While banks employ robust security measures, your vigilance is the first line of defense against fraud and scams.
Recognizing and Avoiding Digital Scams
Unfortunately, scams are a global reality, and Israel sees its share. Expats, especially those new to the country and perhaps still grappling with the language, can be prime targets. Be acutely aware of:
- Phishing Emails/SMS: These are messages pretending to be from your bank, asking you to click a link to "verify your account," "update your details," or "prevent account closure." Never click on links in suspicious emails or SMS messages. Your bank will never ask for your full password or full credit card number via email or text. If in doubt, open your browser, type in your bank's official website address, and log in directly.
- Vishing (Voice Phishing): Scammers might call you, claiming to be from your bank, the police, or the tax authority (Rashut HaMisim), demanding personal information or asking you to transfer money. Always be skeptical. If you receive such a call, hang up and call your bank's official number directly from their website.
- Fake Websites: Always ensure you are on your bank's legitimate website (check for the "https://" and a padlock icon in the address bar). Bookmark your bank's official login page to avoid accidentally landing on a fraudulent site.
The rule of thumb is: if it seems too good to be true, or if it creates a sense of urgency and panic, it's likely a scam.
Best Practices for Password Management and Two-Factor Authentication
Your personal habits play a massive role in your online banking security.
- Strong, Unique Passwords: Use complex passwords that combine uppercase and lowercase letters, numbers, and symbols. Crucially, do not reuse passwords across multiple sites. Consider using a reputable password manager.
- Embrace Two-Factor Authentication (2FA): As discussed, Israeli banks heavily rely on 2FA. Never bypass it, and always ensure your registered phone number is up-to-date with your bank so you receive SMS codes. If your bank offers an authenticator app, use it – it's generally more secure than SMS.
- Regularly Review Transactions: Make it a habit to log into your online banking and review your recent transactions frequently. This allows you to spot any unauthorized activity quickly.
- Secure Your Devices: Ensure your smartphone and computer are protected with strong passwords/PINs, and keep your operating system and antivirus software up-to-date. Avoid saving your banking login details on public or shared computers.
What to Do If You Suspect Fraud
Time is of the essence if you believe your account has been compromised or you've fallen victim to a scam.
- Contact Your Bank Immediately: Use the official phone numbers listed on your bank's website (not from a suspicious email or text). Report the suspicious activity or unauthorized transaction. They can often freeze your account or cancel transactions before further damage is done.
- Change Your Passwords: Change your banking password and any other passwords that might be linked (e.g., email associated with your bank account).
- Report to Authorities: If money has been stolen, report it to the Israeli Police. While recovery can be difficult, reporting creates a record.
- Monitor Your Credit: Keep an eye on your financial statements and credit reports for any further unusual activity.
Being proactive and informed is your best defense in the digital banking landscape of Israel. It might feel like a lot to learn, but with a bit of patience and diligence, you’ll master online banking here just like a local.
Disclaimer
The information provided in this guide is intended for general informational purposes only and does not constitute financial, legal, or professional advice. While we strive to provide accurate and up-to-date information, banking regulations, fees, and processes in Israel can change. Always consult with your specific bank, a qualified financial advisor, or legal professional for advice tailored to your personal circumstances. We do not endorse any specific financial product or service mentioned.